How to Import PST File to Office 365 Account?
Summary: The article has all the important information on how to migrate Outlook PST to Office 365 accounts. We here have elaborated the manual or the common practice and the software solution. As per the requirement, the user can grab the software to move the PST files to the MS Office 365 account.
Now, go through the approaches to move Outlook 2007, 2010, 2013, etc. data to Office 365.
Table of Content
Manually Import PST Emails to Office 365 Tenant Account
Before getting into the simple solution, let’s see how to migrate the emails without the help of any third-party tool. Since Outlook has two different file extensions for Mac & Windows, we have provided the procedure for the same respectively.
Now follow the steps for the Windows Outlook Application.
- Start Outlook application.
- Also, close the Outlook application.
- Start Outlook
- Go to File >> Open & Export.
- Select Import or Export.
- Click Next after selecting “Import from another program or file.”
- After selecting “Outlook Data File (.pst)“, click the Next button.
- Select *.pst file by navigating to it and clicking Open.
- Then press Next. Choose the primary folder that contains all subfolders. Then tick the “Include subfolders” button.
- Finally, click Finish after selecting the “Import items into the current folder” option.
The emails and folders will show up in the folder that is now selected. Drag and drop the emails and files to the proper spot if you need to make any last-minute alterations.
Limitations: The process of importing the PST files to Office 365 manually is quite time-consuming, especially for large PST files. Also, there are high chance of human errors, making it less reliable for complex migrations.
Expertise Solution to Migrate Outlook PST to Office 365
If you have a bunch of Outlook data in *.pst format, then the right software is PST File Converter. Add the files to the software panel and get them migrated to Office 365 without the conversion. Using the two different options upload multiple files to the interface. Therefore, in a few clicks import the files to any account using the IMAP option.
How to Directly Import Outlook PST to Office 365?
Below mention are the entire steps to migrate Outlook PST to Office 365. The process is very simple to execute since the application follows an algorithm that does not need any technical skills.
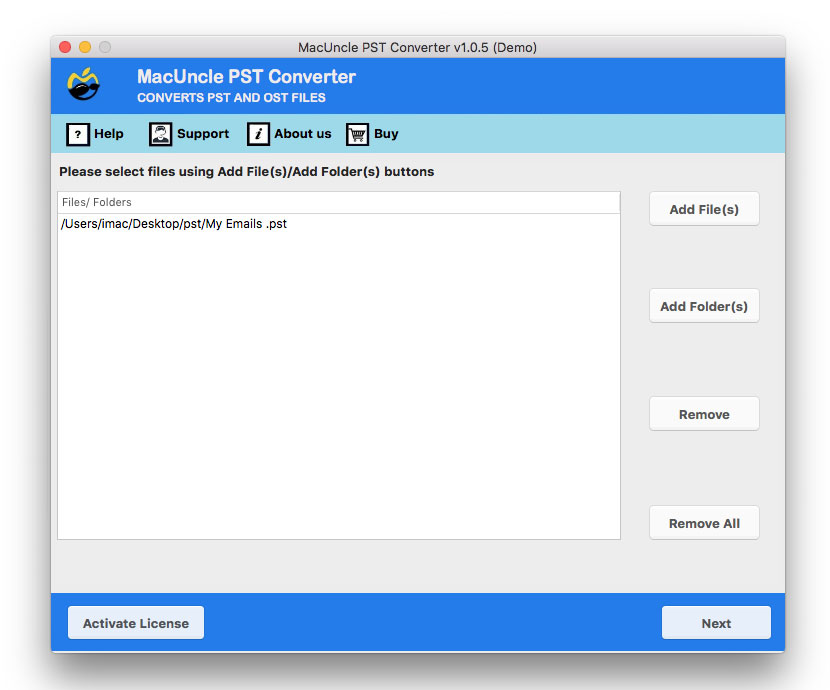
- Step 1: Install the tool and start adding the *.pst file to the software. Press the Next button.
- Step 2: Click on the required check box to select the files to migrate. Further again press the button Next.
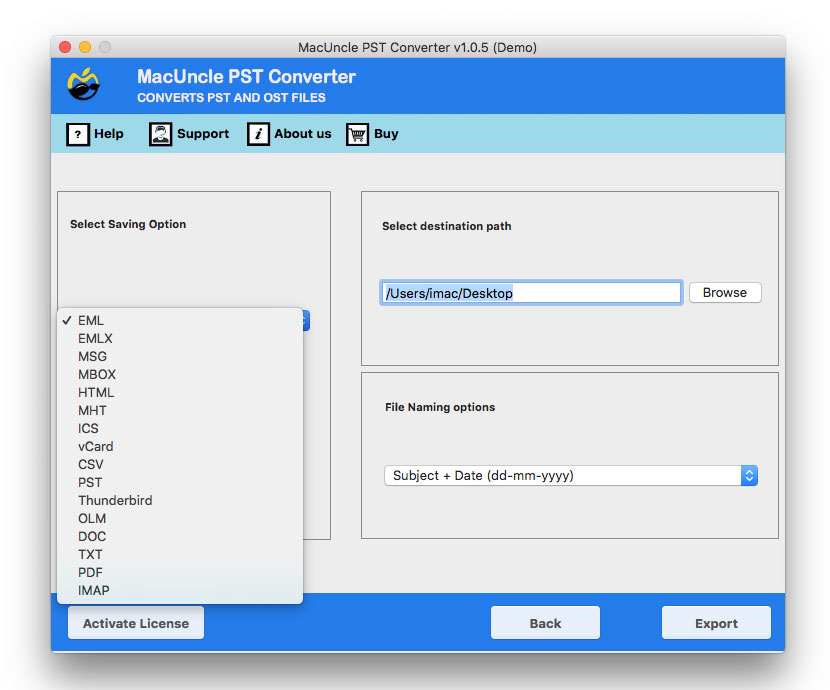
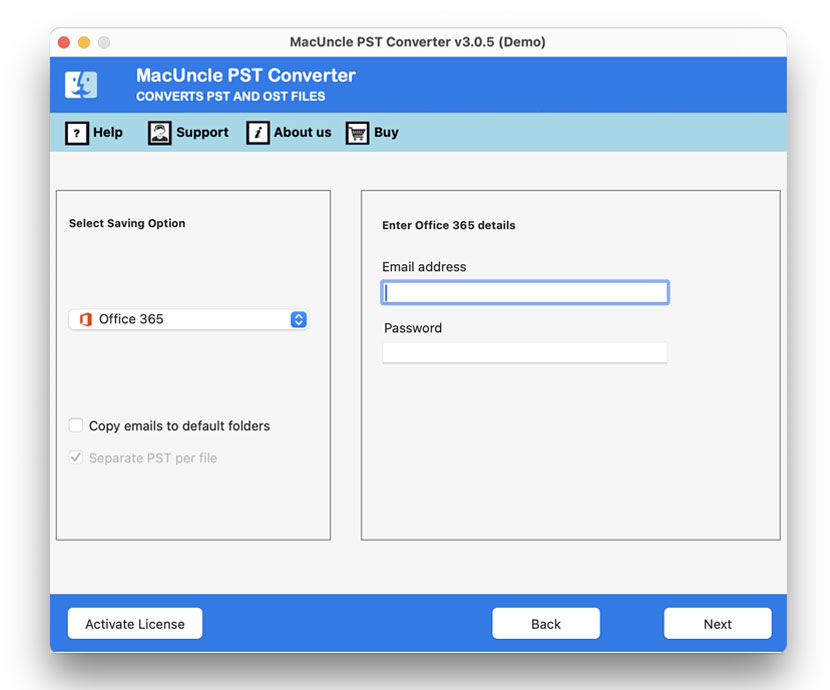
- Step 3: Choose Office 365 from the list. Enter the credentials of the O365 account.
- Step 4: Now, Enter your Office 365 account ID and you will be navigated to the MS account pages.
- Step 5: Press the Export button to initiate the process of migrating emails in *.pst.
Within a few clicks, the selected files will get transferred to the MS Office 365 account. From the steps, it is clear that there is no need for any additional conversion process.
Trial Edition Limitations: The free edition of the application is to understand how the application works. At first, you can migrate 25 email files to your Office 365 account. It gives a complete insight into the software and its features. However, to import more than 25 emails, use the Professional edition.
Why Choose an Automated Solution?
The reason one must try the automated solution is the quick procedure. In a few clicks, we can get the result. That is within the 3 major steps multiple files can be imported. Learn more features from here:
- Without any conversion, we can transfer emails, contacts, calendars, etc.
- In a single attempt transfer multiple files to Office 365.
- No Need to sign in to the O365 account individually, however, one must enter the account credentials.
- Double-check the uploaded PST files on the software panel.
- To run the application there is no need for any technical skills.
Outline of Blog
To conclude, the article has two different solutions for different situations. Here we have the most requested solution to import PST to Office 365. If you want to migrate multiple Outlook PST files then without looking any further, go with the recommended application.
Frequently Asked Question
Q) Is there a different procedure to transfer Mac Outlook files to Office 365?
A) We can manually move Mac Outlook files to MS Office 365 using the below steps:
- Launch the Microsoft Outlook (Mac)
- Now, Choose File >> Import
- Select the PST files of the Outlook Windows account.
- Select Import after using Browse to find the file on your computer.
- Further, click Finish. Under On My Computer, the imported things can be seen.
- To store the folder(s) on the O365 servers, drag them to your Office 365 account.
For more details visit: Import OLM Files to Office 365 Mac.
Q) What are the software requirements to import PST to Office 365?
A) Apart from the basic software requirements, there is no additional support needed to operate the suggested application.


