How to Export Emails from Outlook Web App to Hard Drive?
Are you planning to switch email clients or simply want a local copy of the files? Whatever the reason, exporting emails from Outlook Web App to hard drive is a smart practice. We will discuss the different approaches for the same.
The guide will walk you through two different methods to export Outlook.com emails to hard drive. The methods can export individual emails and multiple emails. Check out all the methods and grab one as per the requirement.
Table of Content
Why Download All Emails from Outlook Web App to Hard Drive?
There are various reasons to Save emails from the Outlook Web App to the hard drive.
- When the emails are stored in the cloud, the data are more at risk than the local copies of emails. It becomes vital when you have sensitive information to be dealt with.
- You can access the downloaded emails even without the internet.
- Email Migration is easier to move email providers or clients once you have a local copy of your emails.
- Due to legal requirements, the email might need to extract the emails.
By downloading your Outlook Web App emails, you will ensure that your important information is safe, accessible, and organized.
How to Export Emails from Outlook Web App to Hard Drive?
- Open the Outlook Web App in the browser and sign in to the account.
- Select the emails you want to export.
- Now, from the display emails, click on the 3 dots at the top right corner and click Download.
- The emails from the Outlook.com account are in EML format.
Limitations: Manually saving email can be very daunting and time-consuming. This method isn’t ideal for exporting emails at once. Now, let’s explore another efficient method for bulk exports.
Exporting Multiple Emails Using PST Files
Use Outlook Desktop to Save Emails to a Hard Drive
Want to save emails or an entire mailbox? A PST file is the best option.
What is PST Files?
A PST file is a personal storage file format for various Outlook items, emails, contacts, calendar events, etc. We can convert Outlook.live.com emails to PST files, and thus, you can easily save them to your hard drive.
Step-by-Step Guide to Export Emails from Outlook Web App to Hard Drive
- Open the Outlook Application.
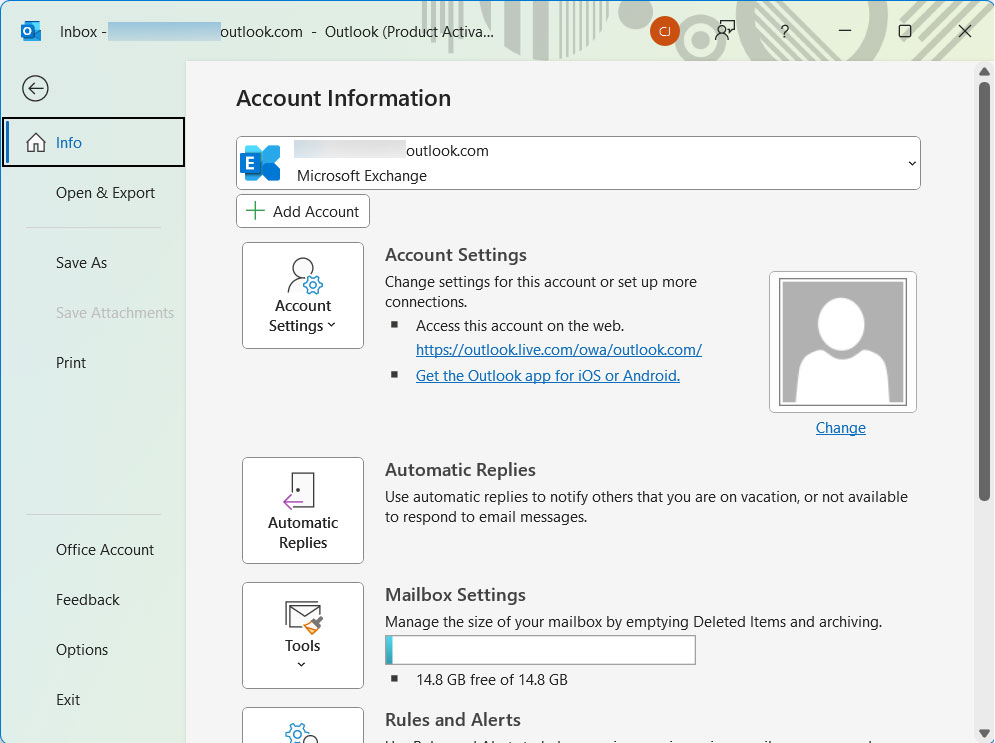
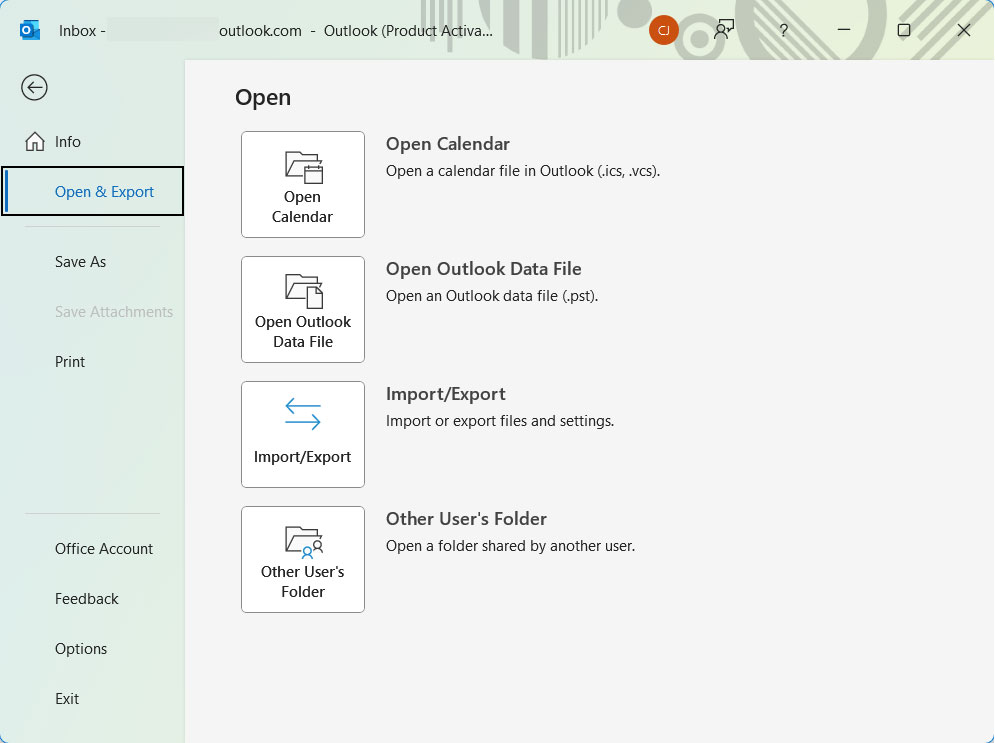
- Go to File>Open & Export> Import/Export.
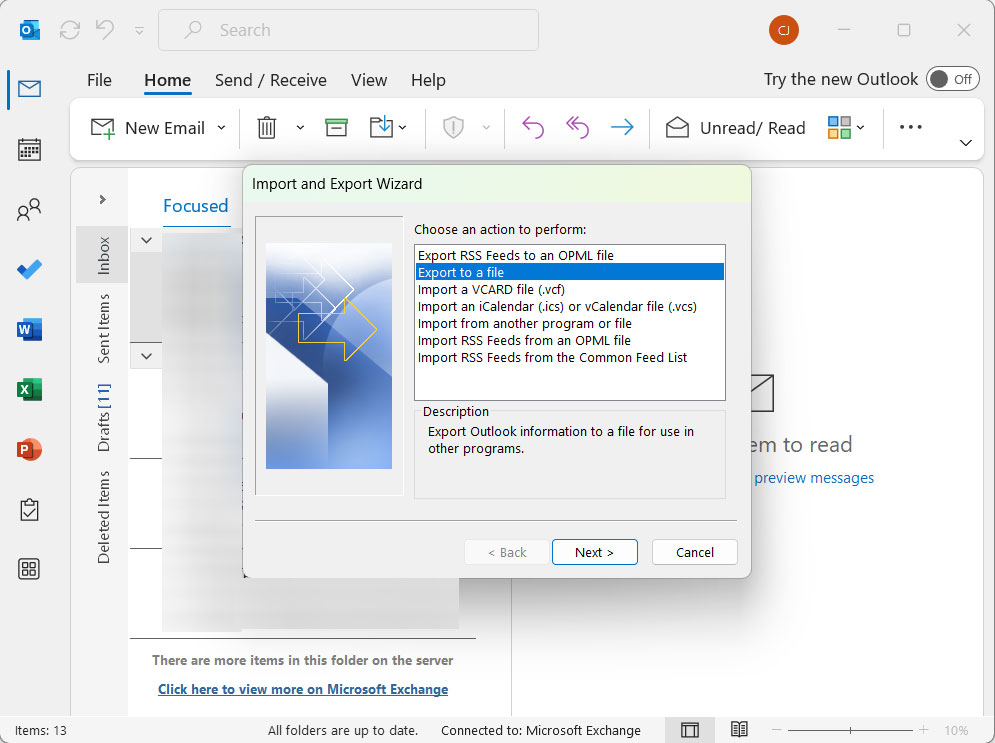
- Select “Export to a file” and choose “Outlook Data File(.pst)“.
- Now select the desired folder to export and click “Next“.
- Choose a destination folder for the PST and click “Finish“.
Limitations: We need to have Outlook Desktop installed on the computer. For effortless export options use the software mentioned in the below section.
How to Save Emails from Outlook Web App to Hard Drive?
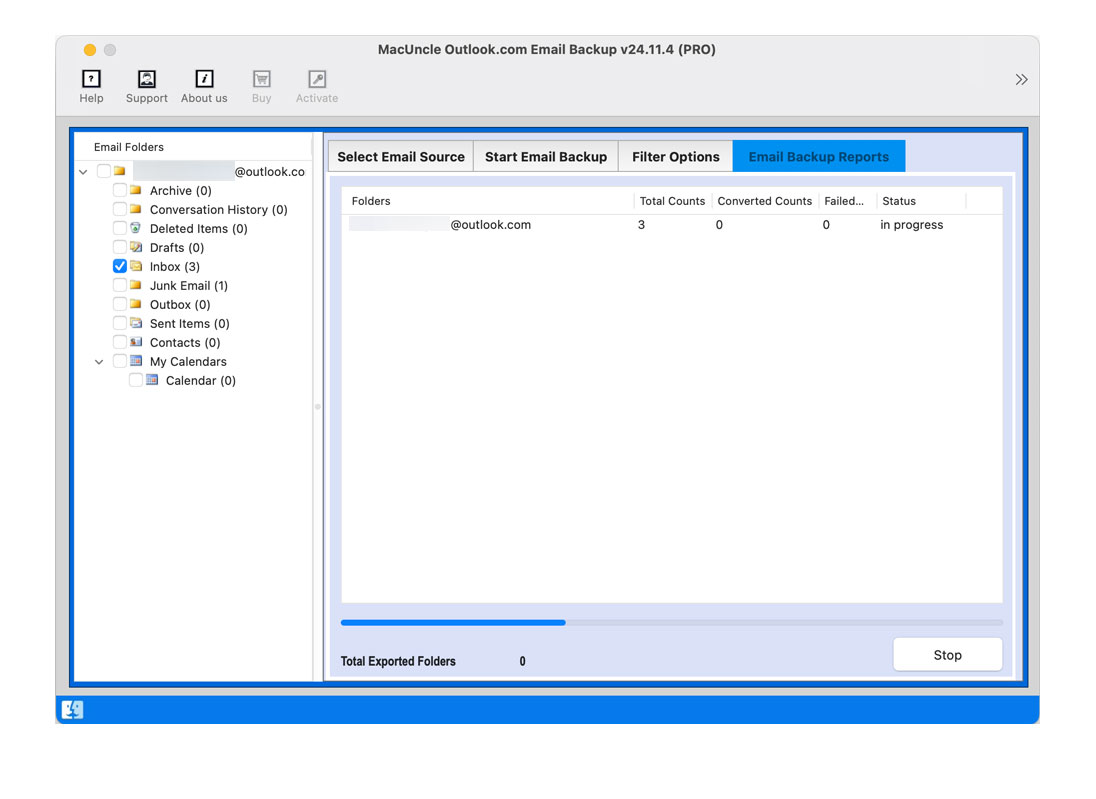
After considering all the limitations we have come up with Outlook.com Backup Tool. With the advanced software feature export Outlook Web App emails to External hard drive. Use the different file formats to extract the emails from the Outlook.com account. Also, use the tool to transfer emails from Outlook Web to Gmail or other email clients.
Steps to Export Outlook Web App to External Hard Drive
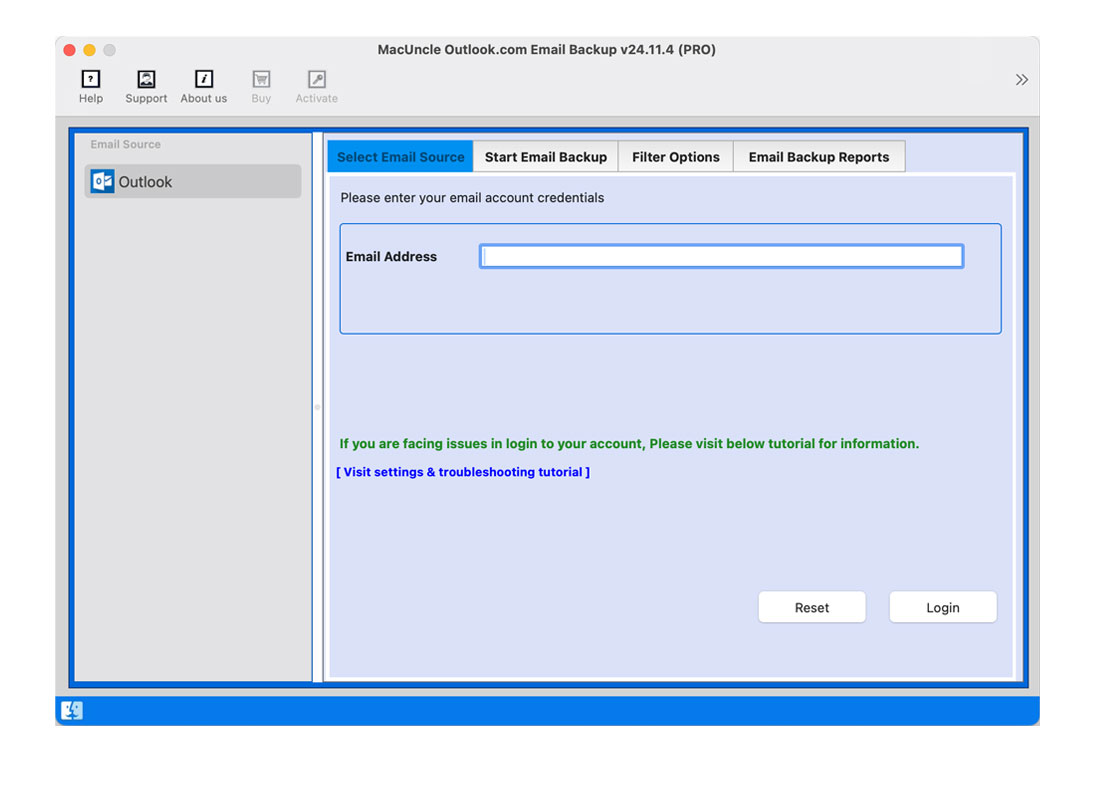
- Start the software and follow the steps mentioned below.
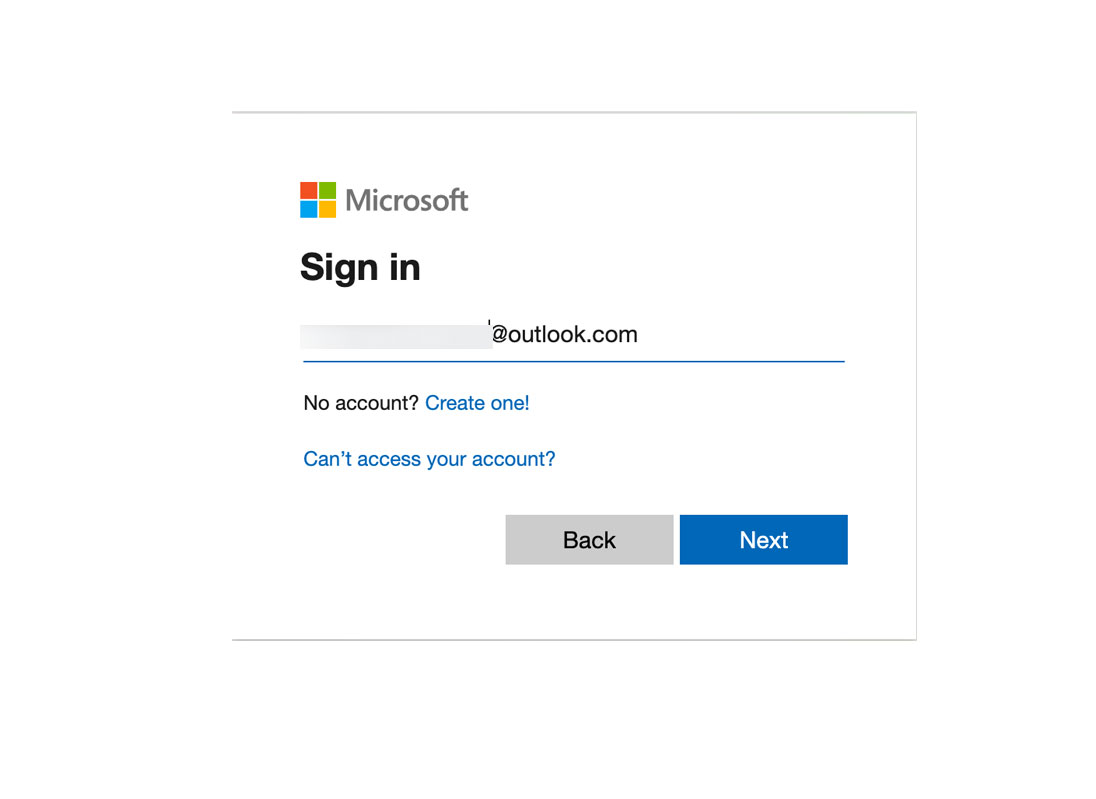
- Enter ID and It will navigate to the Microsoft page and enter the password.
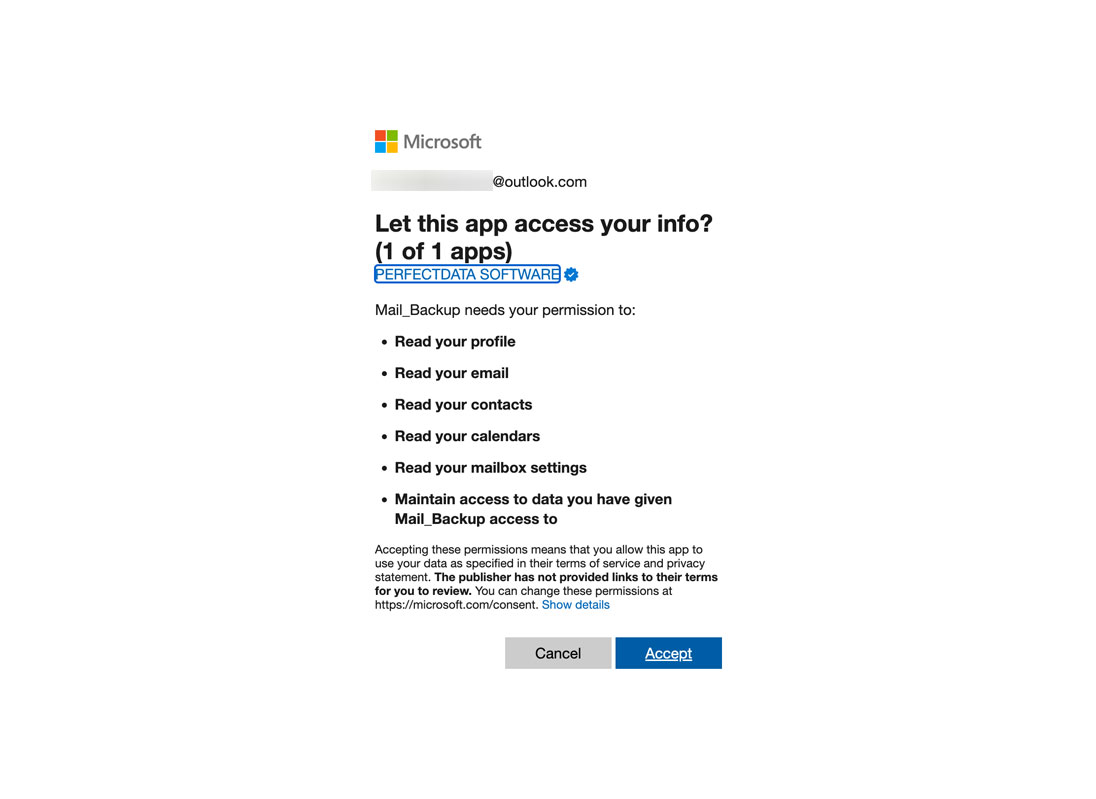
- Now, press the Accept button to initiate the process.
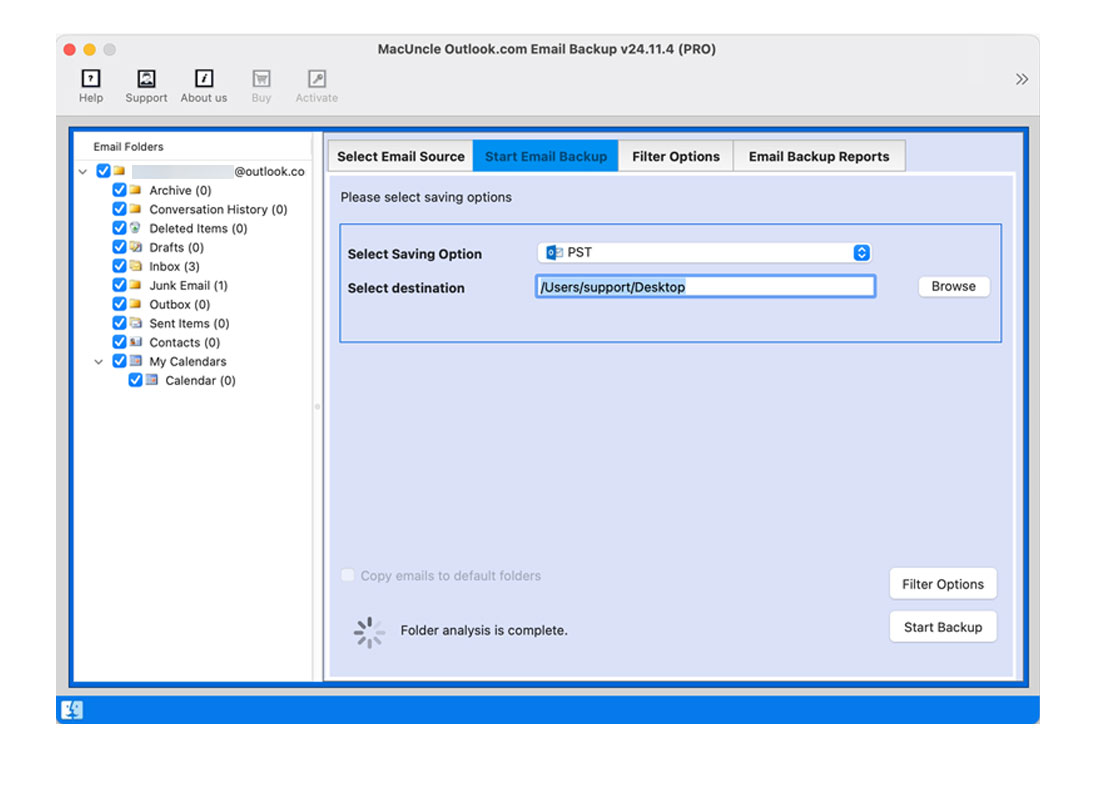
- Choose desired folders and a saving format as required.
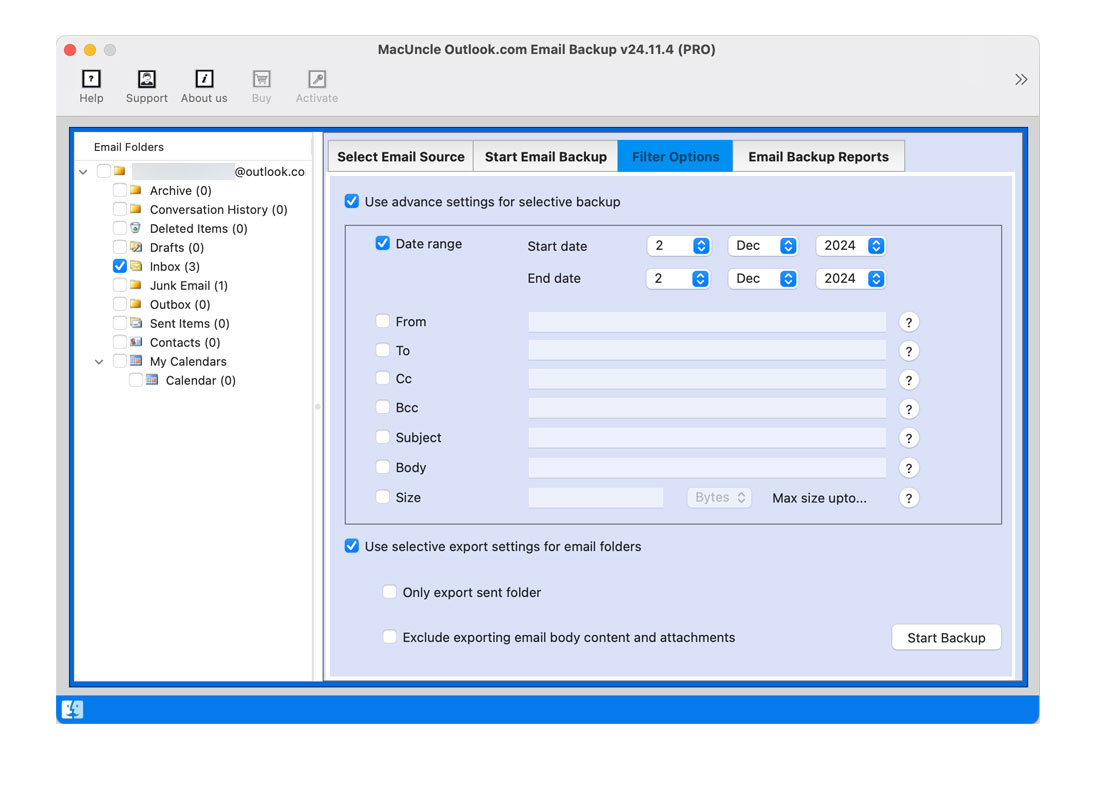
- Use the Filter option for selective save options.
- Press “Start Backup” to export OWA emails.
Conclusion
Here we have explained different approaches to exporting emails from Outlook Web App to external hard drive. You can try different methods as shown in the write-up as per the user’s demand. Using the steps outlined in this guide, you’ll easily be able to save emails from Outlook Web App to your hard drive. Whether one needs to save a few particular emails or one’s entire mailbox, these techniques can prove helpful in keeping valuable information safe.
FAQs
Q) How Can I transfer Outlook emails to my hard drive?
A) Use the Download option with the Outlook.com account, or else go with the professional approach mentioned here.
Q) How to save emails from the Outlook Web App to a computer?
A) Users can utilize the download feature within the OWA account or use the print method to get the emails in PDF format. For more advanced method, try the software.


