How to Export Email Addresses from Outlook for Mac Files?
Well, you are here searching for a quick solution to export email addresses from Outlook Mac. Do not skip, read the whole article to resolve the issue you are facing right now.
From here you will get the professional approach to export all the email IDs from Mac Outlook 2019, 2016, and 2013. Understanding the common requirement of Mac Outlook users, we have come up with an outstanding independent solution to export all the email IDs. If you have an Outlook for Mac archive OLM file then pull out the email address easily.
Let’s go through the major reasons why users export email addresses and then get the solution to the same.
From these queries, it is clear that user there are diverse reasons why users want to export email addresses from Outlook Mac. Therefore, we are here to recommend a single solution to get the addresses of sends and receivers.
Save Email Addresses from Outlook Mac – Direct & Robust Method
If you keep looking for any manual method then you will end up wasting all your valuable time. Simply download OLM Email Address Extractor – a toolkit that delivers the solution in simple steps. The tool has advanced security features as it deals with email addresses. The application requires basic computer skills thus there is no need for any technical expertise to use the tool.
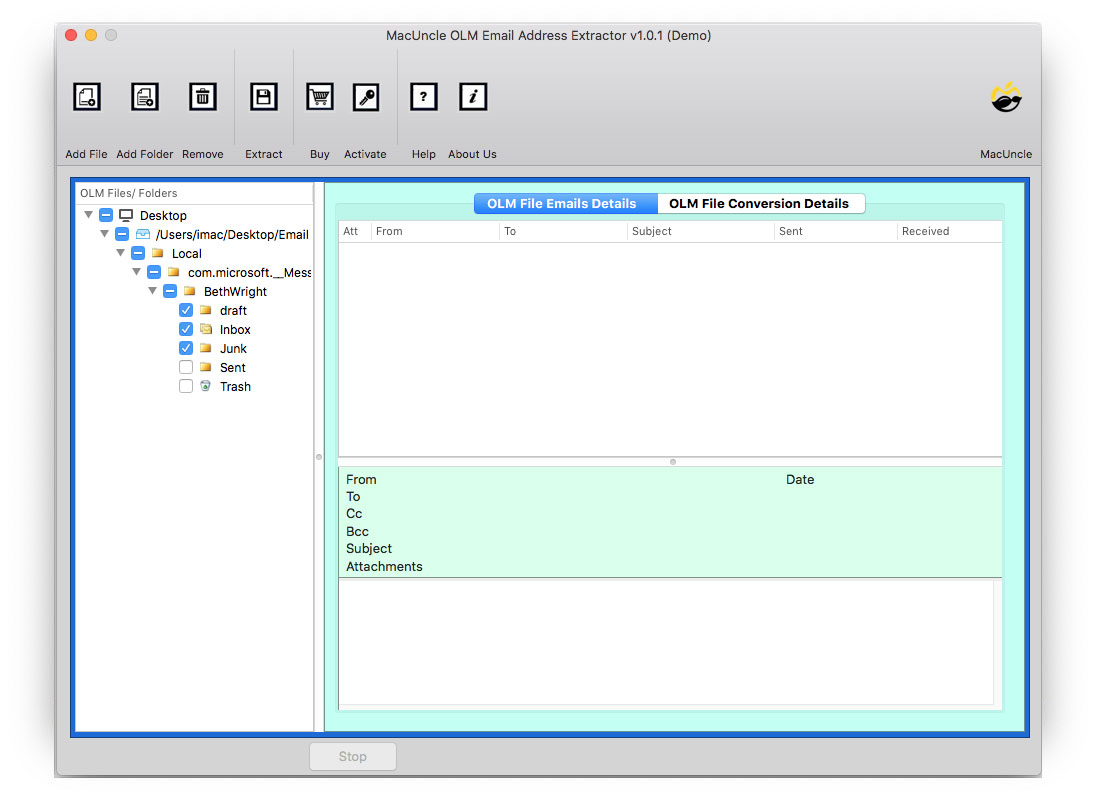
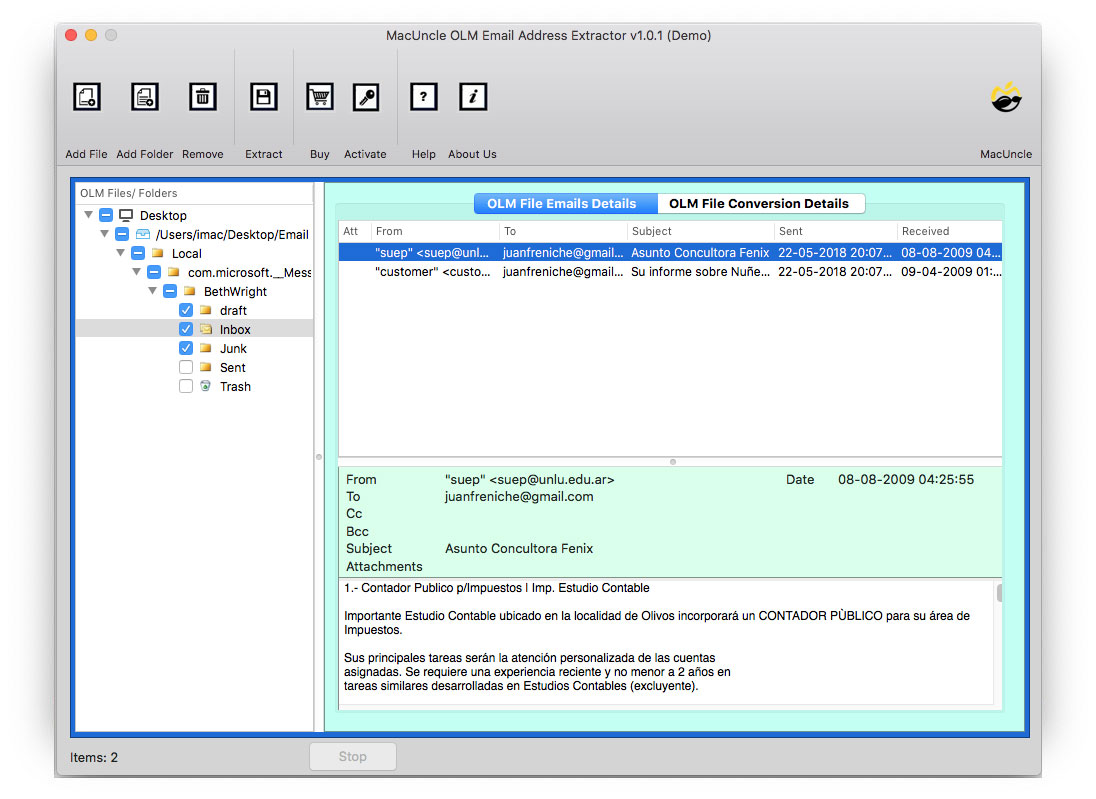
Using the technique, you can store all the email addresses in a safe place for future use. The tool scans all email files included in the selected folder or Outlook Mac files. In the right panel of the software, you can read OLM files on Mac along with email components such as From, To, Cc, Bcc, Subject, etc.
How to Export Addresses from Mac Outlook Files using the Tool
After downloading the application, install and use it right away. Follow the steps given below and save all the email IDs to an Excel file –
- Step 1. Launch the software with the export IDs on your system.
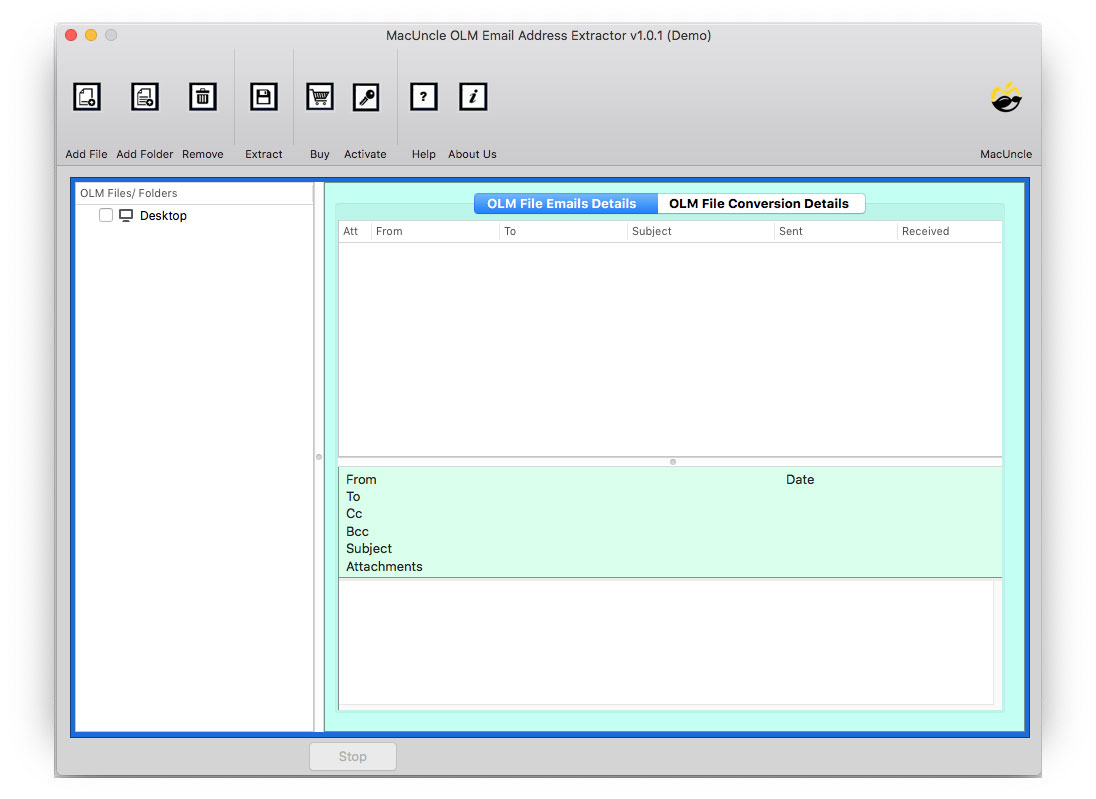
- Step 2. Upload Outlook Mac files using Add File(s) or Add Folder(s).
- Step 3. Select the Outlook for Mac files to export addresses from.
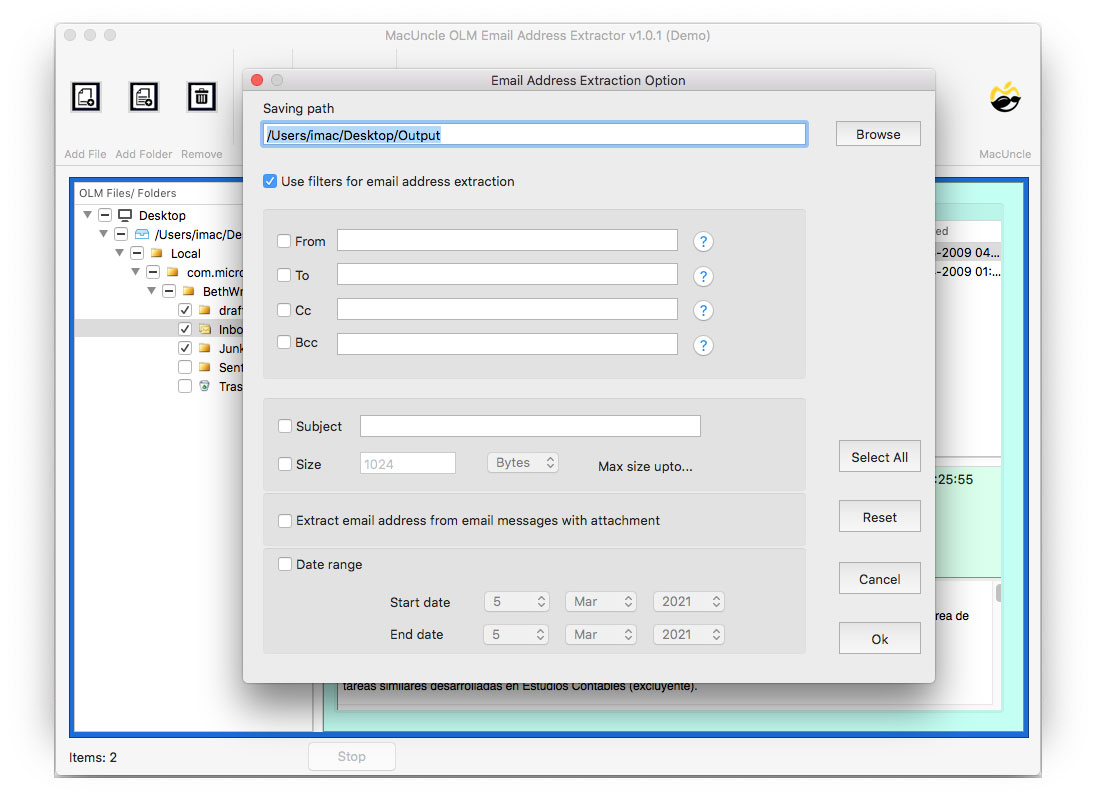
- Step 4. Go to the Extract option in the top left of the software Menu and then enter all the required fields on the filter option.
- Step 5. Hit the OK button to initiate the email address export process of Email addresses from Outlook Mac.
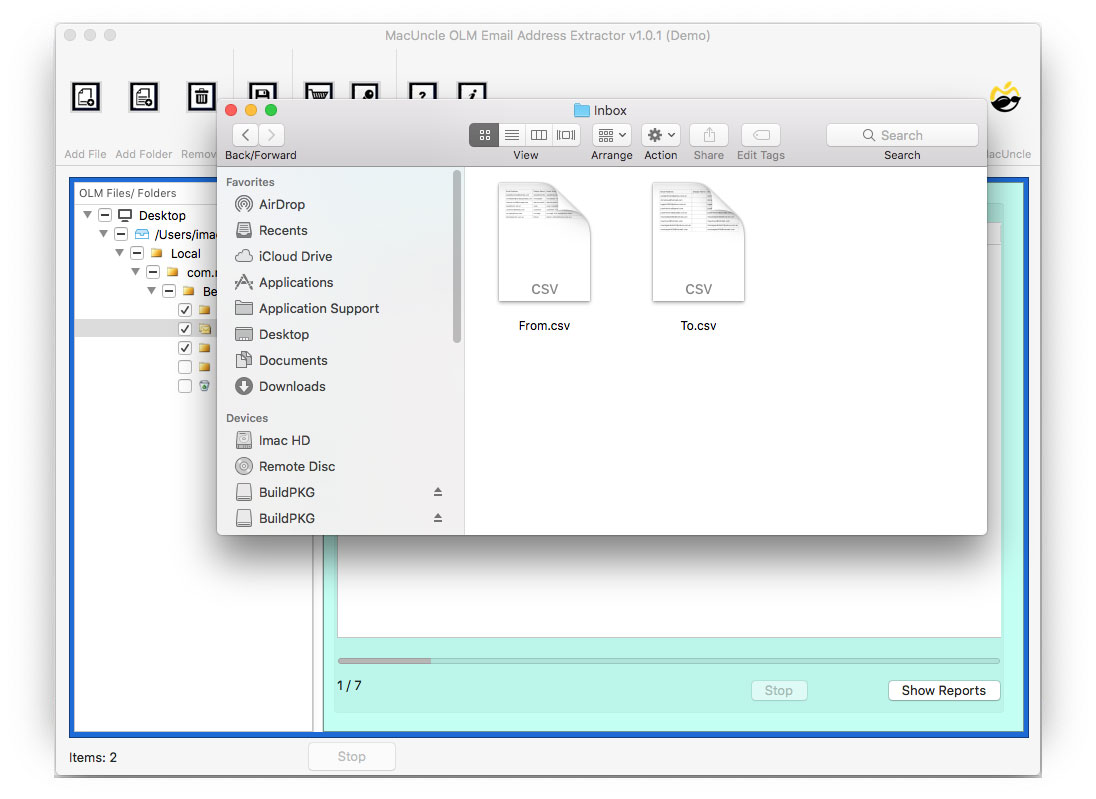
- There you go, in a few moments, you will get notified about the successful completion of the process. The result will be in CSV Excel files.
Get the solution for How to Archive Outlook Emails on Mac OS X
Free Version to Export Email Addresses from Outlook Mac
The above download link is the free version of the tool to export email addresses from Outlook Mac. The demo version can be used to test the working of the tool or to understand how the toolkit operates. Export IDs from 25 Outlook for Mac email files and store the address in CSV format. If you want to get the ID from more than 25 emails then get the upgraded version. Active the Pro version of the software by purchasing the license key for exporting all email address data. Use the below button to upgrade the application to a professional edition.
Final Verse
We have discussed the reason for the email address export procedure from Outlook Mac 2011, 2016, and 2019 as well as the method. You can also opt to export email IDs selectively or in bulk from any of the email folders. It can be enabled without the use of any other software or software, while it operates independently. Apart from all the advanced features, you will get a 100% safe and secure solution.
Frequently Asked Question
Q) Does the tool export address from Outlook Mac to Excel?
A) The tool exports all the email IDs / Addresses from Outlook Mac in CSV format. As a result, you can open the .csv file in an Excel sheet.
Q) How many email IDs can be exported using this method?
A) Export as many email IDs from Outlook Mac by purchasing the Pro version of the application.
Q) Is it possible to get the Address from specific data?
A) Yes, use the Filter option provided in the software and set a date range then press OK. As a result, you will get the email address from that particular date.


