How to Add Office 365 to Thunderbird Account?
Thunderbird is a free email software that is not as expensive as Outlook 365. Transferring emails from Office 365 to Thunderbird not only saves you money but also provides you with other advantages. The only goal of this essay is to show you how to add Office 365 to Thunderbird most conveniently and straightforwardly as possible. Continue reading if you now need to transfer between accounts and you wish to discover how.
Table of Contents
- Why Add Office 365 to Thunderbird Account
- Manual Way to configure Office 365 to Thunderbird
- Limitations of Manual Process
- Quick steps to add Office 365 folders to Thunderbird
- Professionally Migrate Office 365 to Thunderbird
- Detailed instructions for adding Office 365 in Thunderbird
- Why software over the manual approach
- Conclusion
- FAQs
Why Do Users Want to Add Office 365 to Thunderbird Account?
1. Unified Inbox: There is an option to integrate all your email accounts under Thunderbird. In case you have several accounts- both personal and professional- those are integrated into Office 365. It will be much easier for users to keep all the messages in one place instead of switching between several different email clients or web portals.
2. Extended Features: Thunderbird has a range of extended features that can enable Office 365 functionality. The features include:
- Advanced Search: Use quick search, filters, tags, and email views for efficient email handling. Thunderbird lets you quickly find specific messages based on sender, recipient, subject, keywords, or date.
- Add-ons and Extensions: It is dependable and has many extensions, add-ons, and plugins available. Thunderbird supports a large ecosystem of add-ons and extensions, installable to customise the client and add new features.
- Offline access: Using Thunderbird, you can download emails to a local device’s hard drive to be accessed even when there is no internet connection.
3. Desktop Integration: Thunderbird is a desktop application, which means it is deeply integrated into your operating system. This gives several benefits, like
- Native Look and Feel: Thunderbird integrates perfectly into your desktop environment for a familiar, native user experience.
System Tray Integration. Along with that, you can let Thunderbird run in the background, and it’ll alert you to any new emails, giving you direct access to these on your desktop. - Keyboard shortcuts: Thunderbird provides many keyboard shortcuts that one can use to browse through and perform tasks quite fast. For instance, the “A” button allows for quick and easy archiving, as well as spam filters, a firewall, and antivirus protection.
- Security and Privacy: Thunderbird is an open-source project by the Mozilla Foundation, which supports users’ privacy and security.
So, these are some of the benefits of integrating Office 365 with Thunderbird. Now, to assist you in completing the task, we have provided both manual and automatic approaches below. Examine both of them and choose the one that provides the most value to you.
A Manual Way to Add Office 365 Account in Thunderbird
- To begin the configuration process, launch Thunderbird.
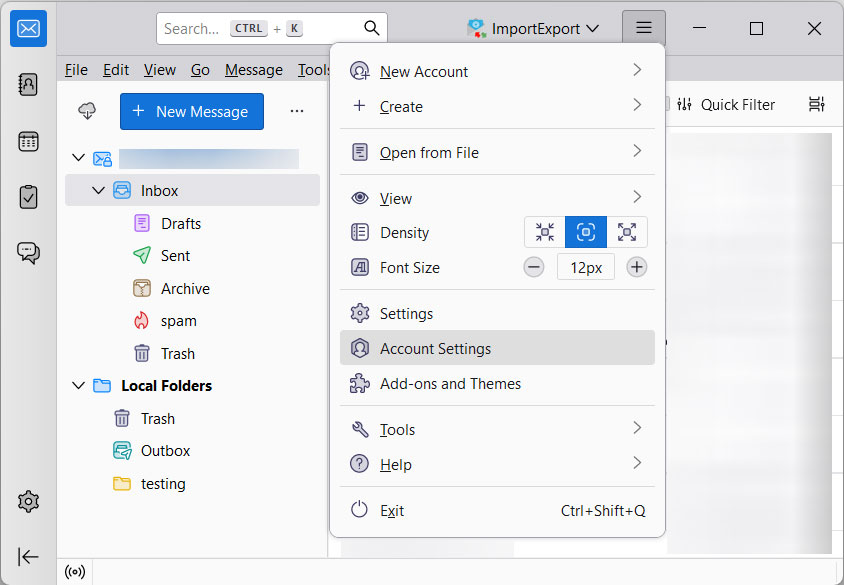
- Navigate to the Tools. After that, click Account Settings.
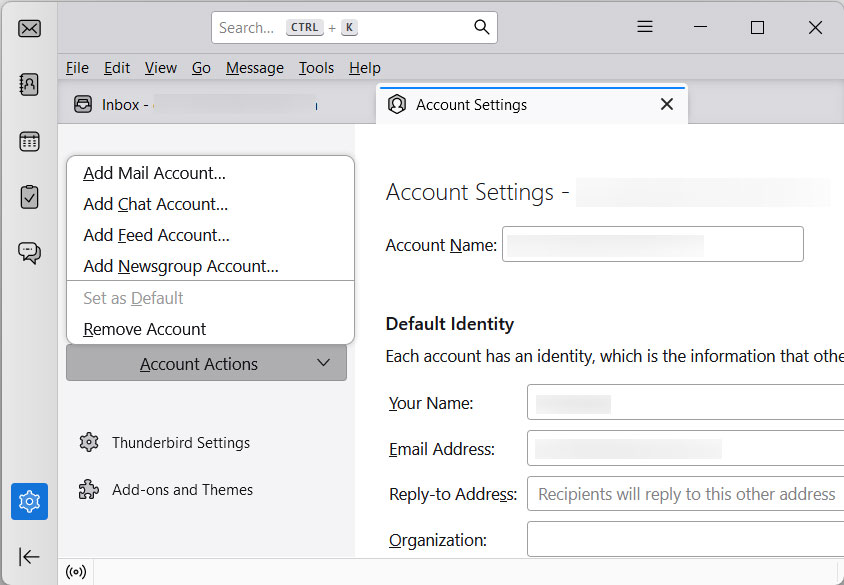
- Within the Thunderbird interface, a new Account Settings page appears.
- Now, select Add Mail Account from the Account Actions drop-down menu.
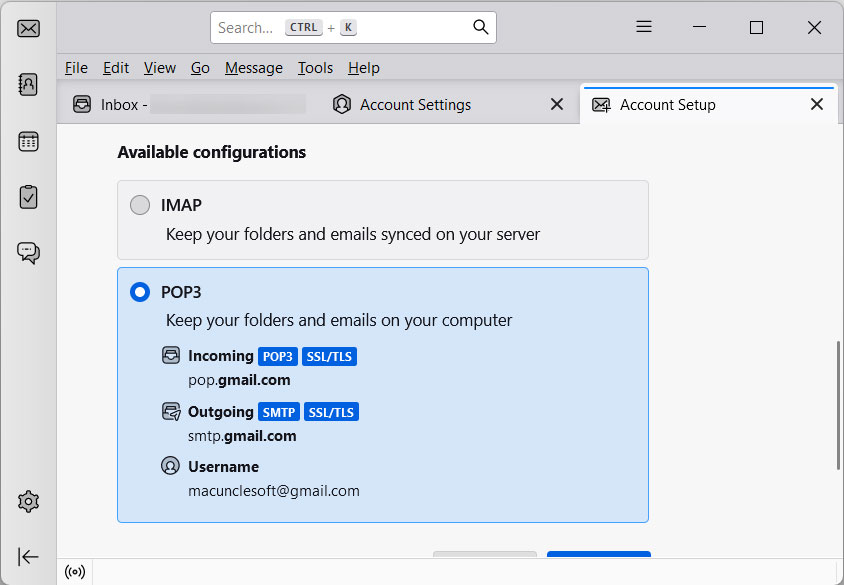
- A new Mail Account Setup screen appears; enter the name and Office 365 credentials.
- Then click Continue to begin adding.
- If you simply click the Done button, you will undoubtedly receive an error. So, first, select the Manual Configure
- On the screen, a new Mail Account Setup page appears. You must now include the following information in the respective boxes:
Incoming: IMAP | outlook.office365.com | 993 |
Outgoing: SMTP | outlook.office365.com | 587 |
- After entering the correct setup information, click the Re-test. After that, press the Done button.
The process of adding an account to Thunderbird begins. Now, simply wait for the process to finish. If you wish to see a folder other than the Inbox and Trash, right-click on the Office 365 ID in the left panel. To view other O365 folders, click the Subscribe button.
So, that’s how you manually add Office 365 to Thunderbird, which appears to be a lot more complicated and technical. We have included several considerations below that you should keep in mind when using the manual approach.
Limitations
- The manual approach of adding Outlook 365 to Thunderbird is time-consuming.
- Manually configuring Office to Thunderbird requires technical skills.
- There is no option to add only specific folders to Thunderbird.
- If you skip any steps, you may have to restart the process from the beginning.
If the manual method is not suitable for you, you should consider the following solution, which may easily overcome the manual process constraint and provide simple steps to migrate Office 365 to Thunderbird.
Quick Steps to Add Office 365 Emails to Thunderbird
- Download, install and start the software
- Add an Office 365 account to the software.
- Select Thunderbird as the saving option.
- Select the target location and then click Start Backup.
How to Migrate Office 365 Emails to Thunderbird?
Since the manual method is quite complex to carry out, it is also about adding the account to another email client. You may be capable of exporting mailboxes from Office 365 to Thunderbird with the use of the highly regarded and secure Office 365 Mail Backup tool. To transfer any or all Office 365 folders instantly, you only need to enter your login information. Throughout the migration process, there is very little user input required because the software is automated. To find out what you need to do when using the application to add an Office 365 account to Thunderbird, we advise that you read the comprehensive instructions provided below.
Step-by-step Guide to Transfer Office 365 Emails to Thunderbird
Begin by downloading the O365 to Thunderbird Migration tool for your Mac.
- After the installation is complete, launch the software to import the “sent” mailbox.
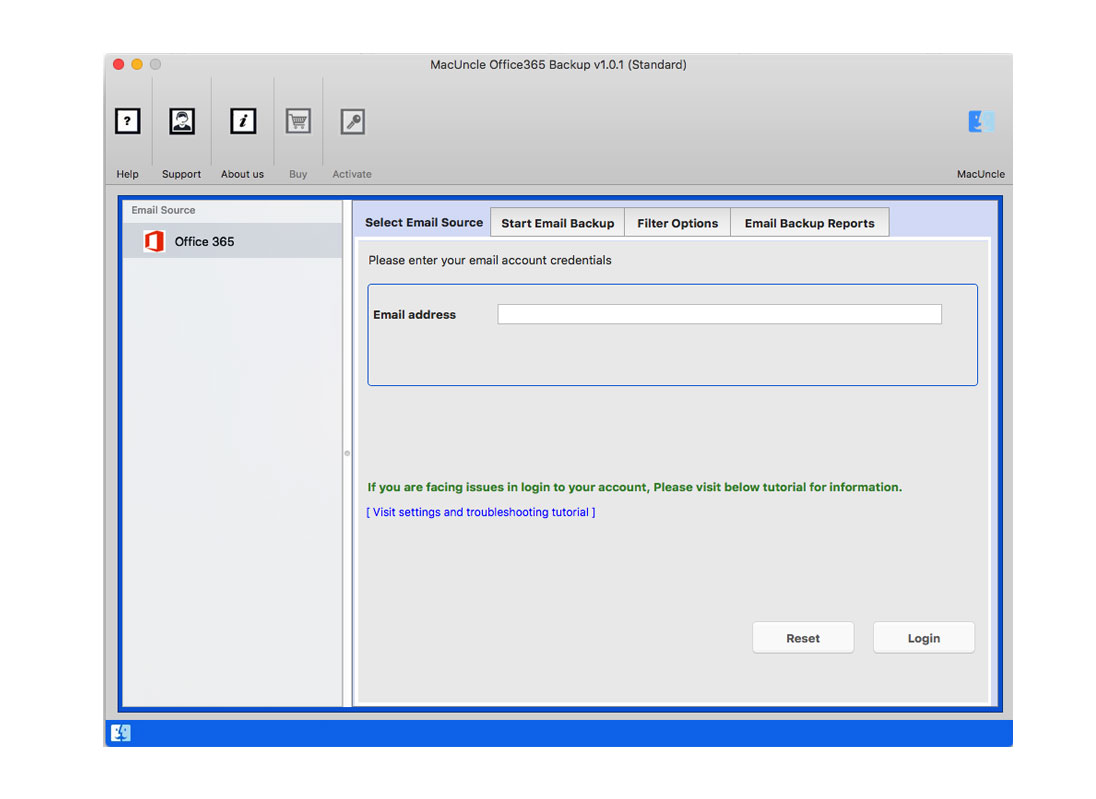
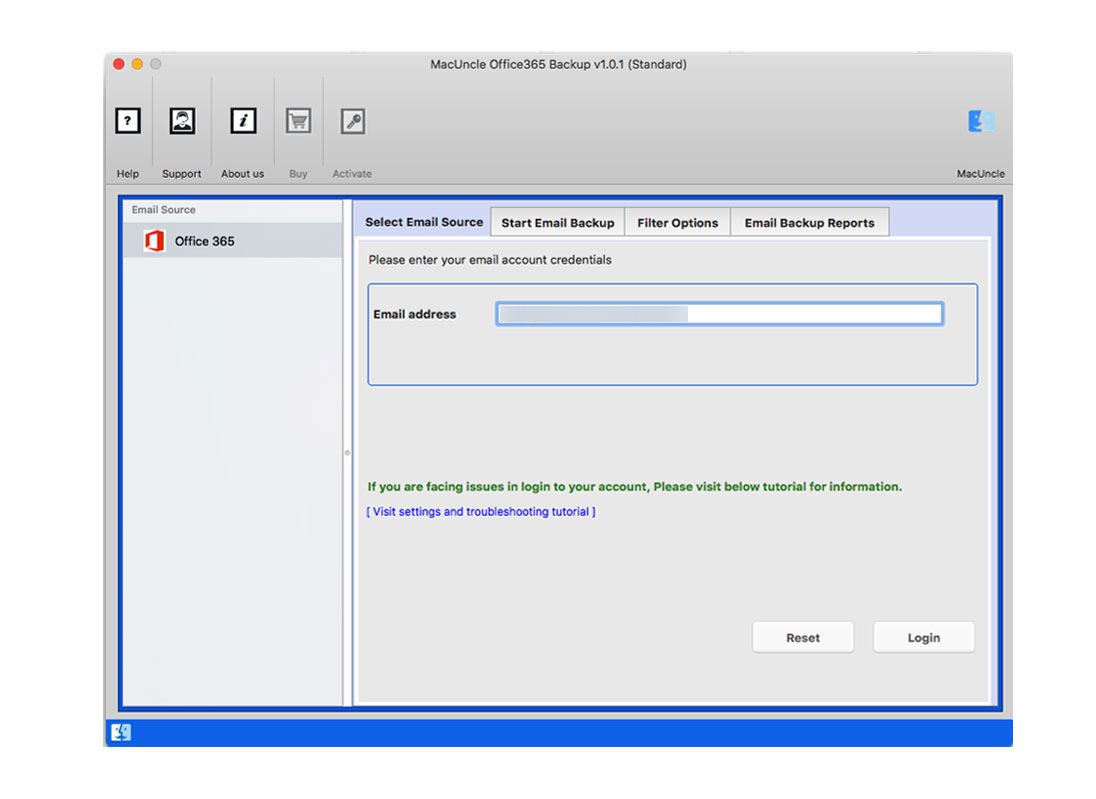
- When the application’s window eventually appears, enter your Office 365 username and password in the fields given.
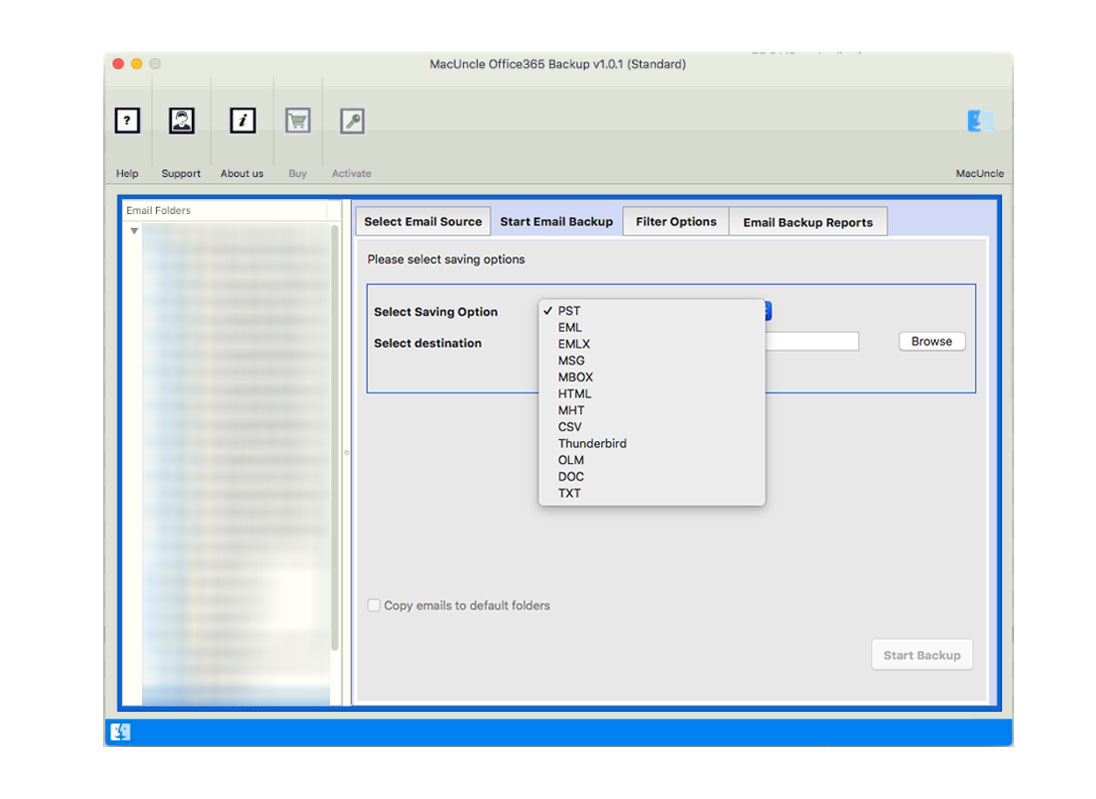
- Furthermore, choose MBOX as the saving option to add Office 365 emails to Thunderbird.
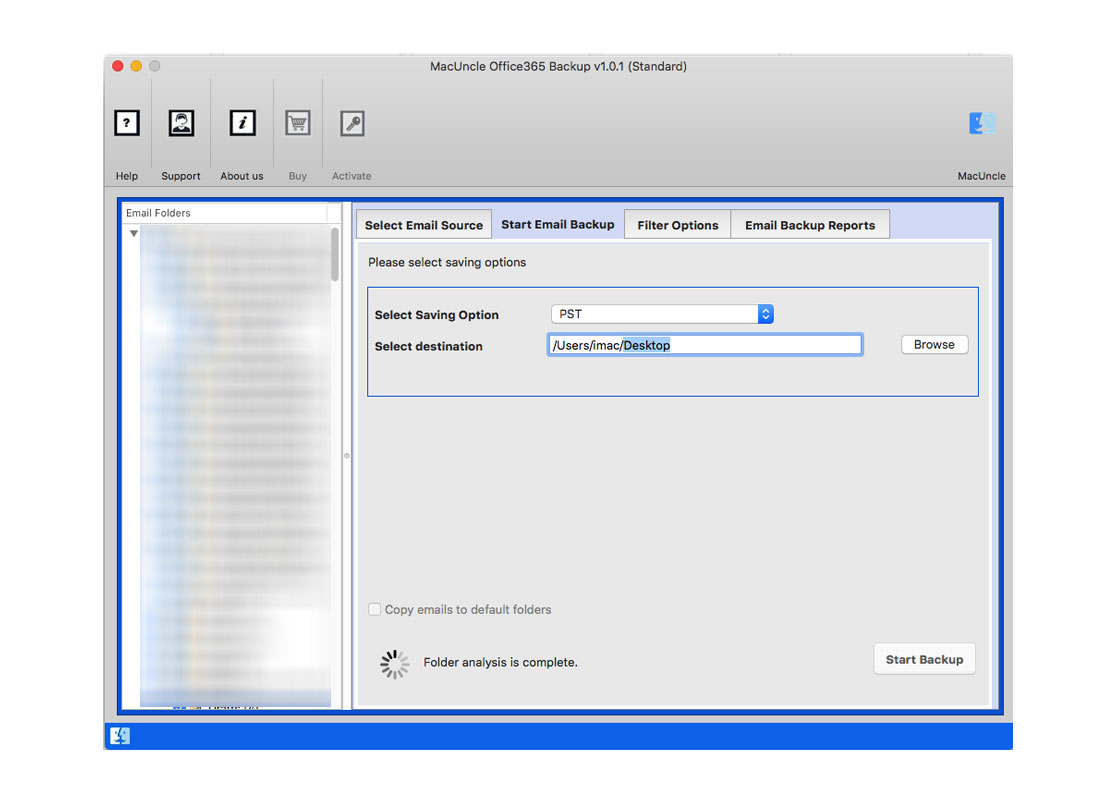
- Now, select a good location for the resulting files and configure filters to get the desired results before clicking the Start Backup button.
- The data migration from Outlook 365 to Thunderbird will begin. You will be notified in a few minutes confirming that the data migration has been completed.
Once you have exported Office 365 emails to MBOX, you may manually import them. You may discover the steps below to manually import MBOX files to the Thunderbird account.
Steps to Import Generated Files to Thunderbird
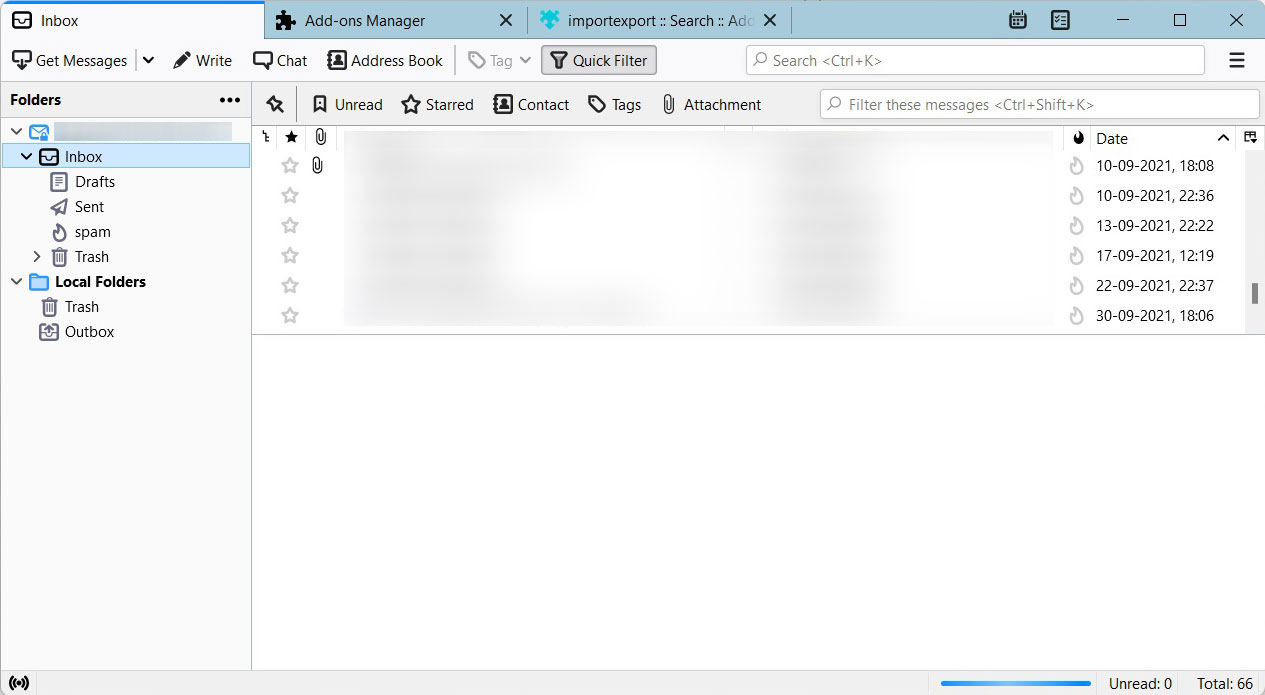
- First of all, you have to open your Thunderbird email client.
- Then, click once on Local Folders.
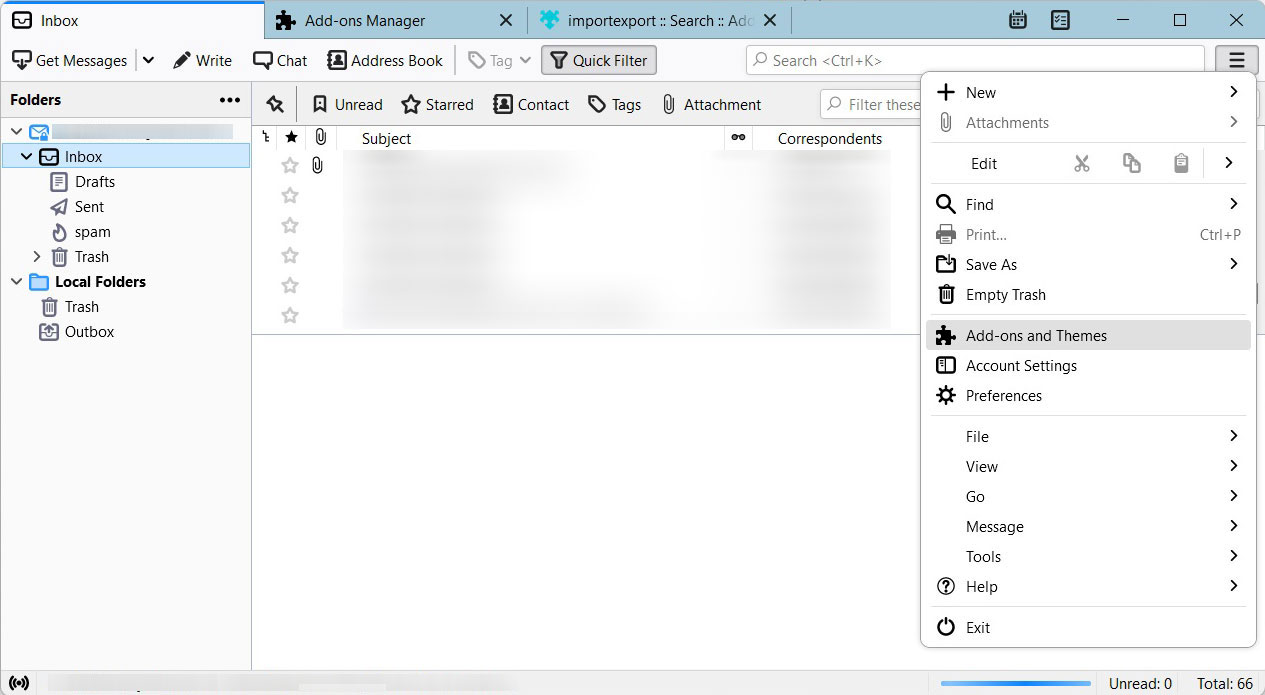
- From the menu bar, select Tools>ImportExportTools NG>Import mbox file.
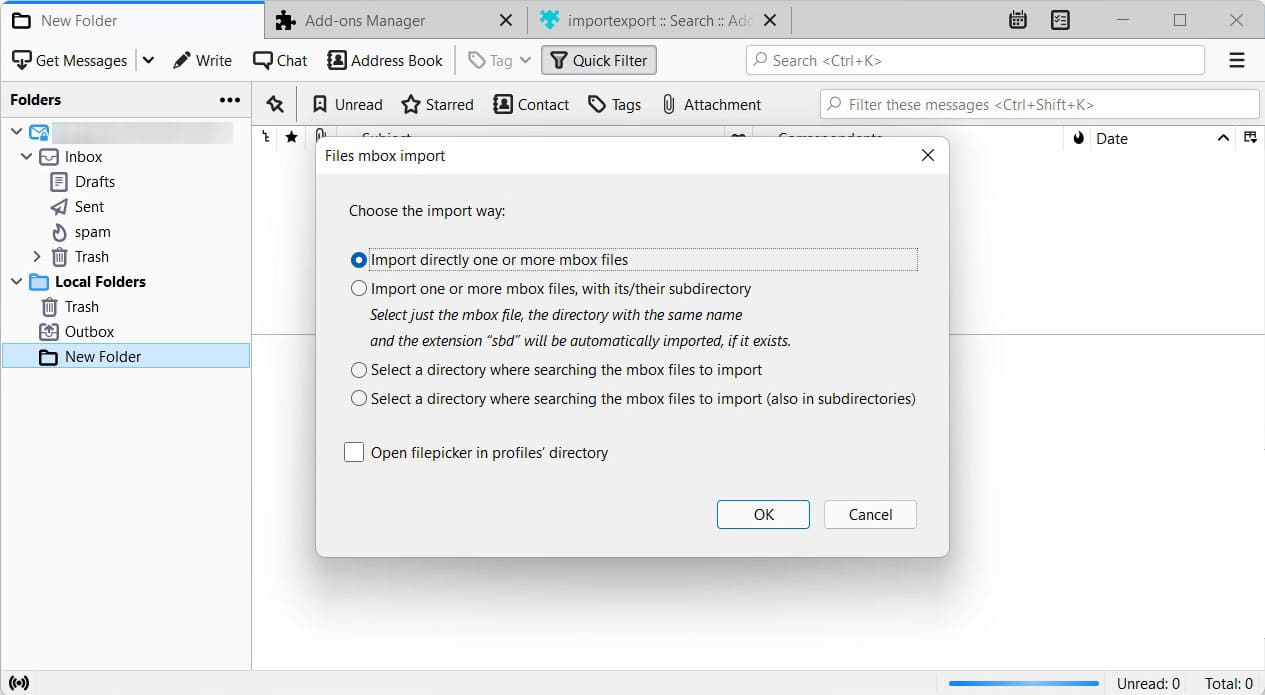
- Choose the import way, and click OK.
- Now, you must select the MBOX file.
- The MBOX will appear under Thunderbird’s local folders.
This is the way you can transfer emails from O365 to Thunderbird using the tools provided. We now want to give you a bit more information regarding the tool. The following are some of the tool’s characteristics. Examine each one to gain a better understanding of the tool’s potential.
Discover Some Traits of the Tool
- Add Office 365 to Thunderbird in Bulk: The tool’s goal is to assist you in saving time despite the large amount of data you wish to export. It allows you to transfer emails from O365 to Thunderbird in bulk without any problems. There will be no constraints encountered while transporting the enormous volume of data.
- Simple Graphical User Interface: The application is very easy to use. Nothing intricate about the software can ever cause you to feel discomfort. Even when using it for the first time, you can do it alone.
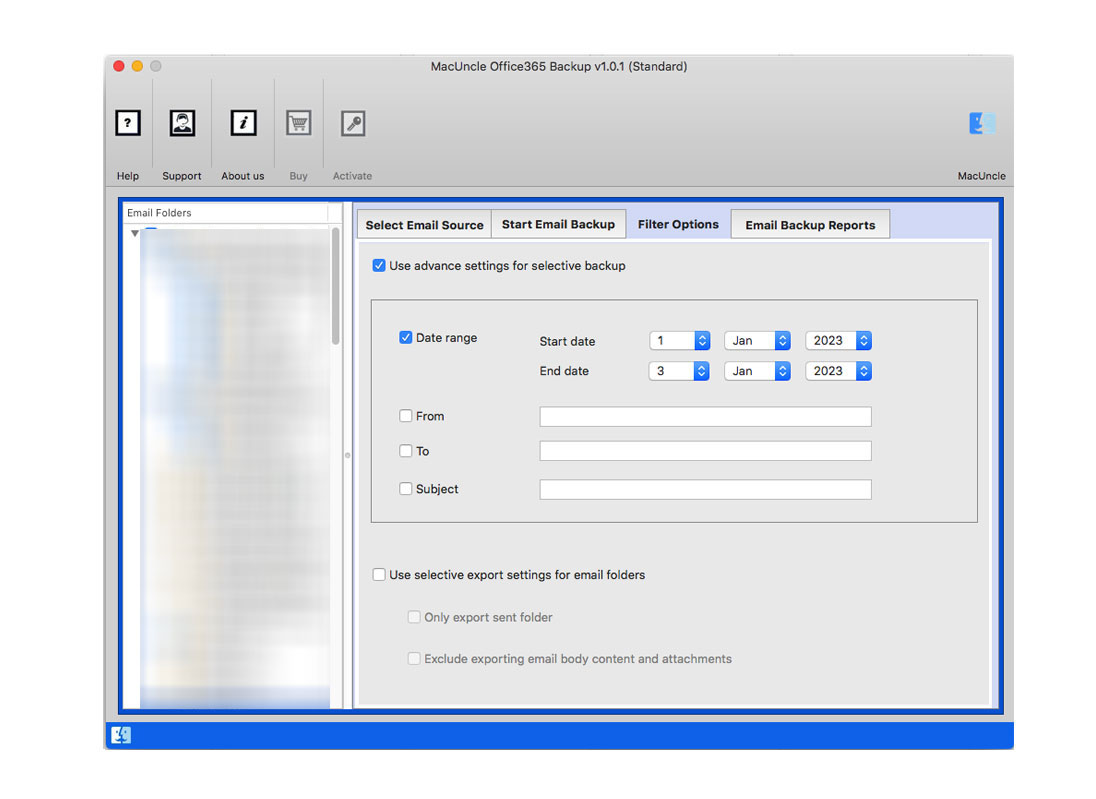
- Advanced Filters: If you don’t want to transfer the entire Office 365 email, you can transmit only a specific one. The app offers you tonnes of advanced filters to send specific emails or attachments. By filtering the email field or the time duration, you can send specific emails.
- Explore Location: The software to import Office 365 to Thunderbird allows you to browse and choose where to save the resulting files. Your generated files will not be saved in the download folders or the pre-determined location given by the tool.
- Device Compatibility: The application is compatible with all MAC OS devices. On Mac OS 10.10 Yosemite, 10.9 Mavericks, and 10.8 Mountain Lion.
Summarize
It is now incredibly simple to connect O365 to Thunderbird. We have provided you with both manual and automated options for data transfer. The O365 to Mozilla Thunderbird transfer tool is sophisticated but simple to use. It includes numerous functions that can help you do your tasks more quickly. You may acquire the program by clicking the download button above and starting to add Office 365 to Thunderbird right now. We must also mention that when you download the tool, you will initially be presented with the free version.
Frequently Asked Questions
Q) Can I use Thunderbird with Office 364 for business?
A) Yes. As with any other email client, you can add Thunderbird to Office 365 for business accounts. The whole setup procedure is the same
Q) Do I need to enable any settings to add Office 365 to Thunderbird?
A) No specific settings are required to configure an account for Thunderbird.
Q) Can I access the Office 365 emails offline with Thunderbird?
A) Yes. You can enable office access in Thunderbird by enabling the “Offline” option in the account settings in Thunderbird.
Q) Can I use Thunderbird with multiple Office 365 accounts?
A) Yes. You can add multiple Office 365 accounts to the Thunderbird profile.


